As technology progresses, most products are now producing new features and added improvements that can provide better user experiences.
Welding helmets are really durable products intended to provide the best services. However, the auto-darkening welding helmet is facing some challenges in adjusting its settings.
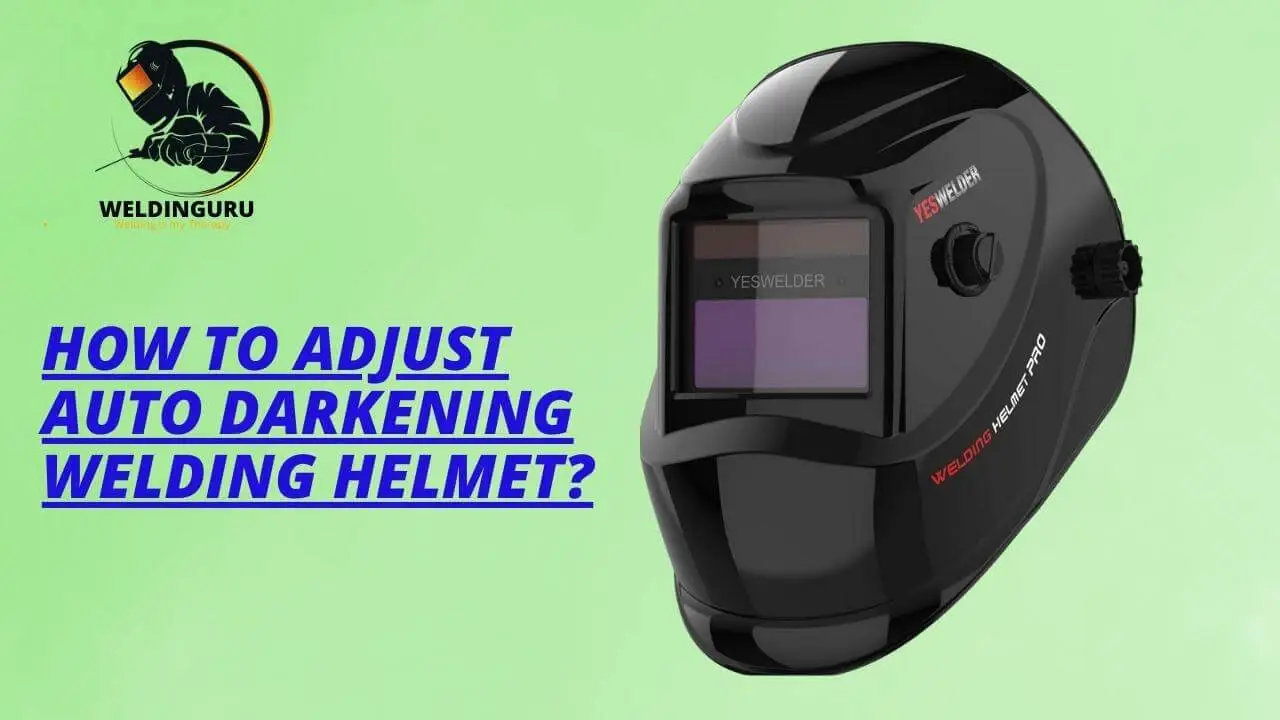
The helmets will become useless if you cannot properly adjust them to fit your face. You should know how to adjust auto darkening welding helmet.
Otherwise, you are going to fail in your welding processes or, even worse, suffer from severe injuries during welding activities.
Don’t worry! It’s easier than you think. It doesn’t require any rocket science; just some know-how and practice will do it. Keep reading to know!
How To Adjust Auto Darkening Welding Helmet?

Tighten or loosen the helmet using the adjustment knob on the back of the helmet. Adjust the helmet’s headband to ensure that it is snug but not too tight. Make sure that the helmet fits properly before tightening it, as you may damage your head if you tighten it too much and cause yourself pain when wearing it.
If you are experiencing any problems while using your helmet, I suggest trying these tips to troubleshoot and correct them easily.
1. Helmet Fitting:
The first step in adjusting your helmet is to ensure that it fits correctly.
Start by making sure the helmet is sitting squarely on your head, with no gaps between the helmet and your face. Next, adjust the helmet straps so that they are snug but not too tight or loose.
If there is any room for movement, then you need to tighten the straps until there is no more room for movement (but still no discomfort).
2. Sensitivity Dial:
The first thing to check is the sensitivity dial on the side of your helmet. This will adjust how quickly the helmet darkens when exposed to bright light.
If it’s on low sensitivity, then it might be taking too long for the helmet to darken when you are welding or grinding.
3. Delay Settings:
Next, check the delay setting on your auto-darkening welding helmet. This is usually located in a small box near where you adjust sensitivity levels.
Adjusting this setting will help prevent accidental eye injury caused by rapid changes in light intensity during welding or grinding operations.
It will allow time for light levels to stabilize before triggering the darkening action inside your helmet housing lens cover assembly, which controls how quickly they transition between clear and opaque states when exposed to bright light sources such as arc flash energy bursts generated during arc flash events which occur during industrial firefighting operations involving large-scale industrial fires.
4. Different Shade Controls:
The shade controls on an auto-darkening welding helmet are designed to adjust the darkness of your view through the lens. The darker you want your view, the higher number you will have to set it on.
Shade settings range from 9 to 13. Most helmets come with a default setting of 7, but you can change it depending on how much light is in your work area.
If you’re working in a well-lit area, you may want to use a higher setting. If you’re working in a dark area, then you’ll want to use a lower setting so that you can see better when welding or grinding.
If you want to enjoy your welding project with the help of clear vision, then I recommend going for shade 13.
5. Battery Signal:
Most auto-darkening welding helmets have a battery indicator that lets you know when the batteries need to be replaced. The indicator will either light up or blink in different patterns to let you know how much power is left.
If you don’t see any blinking lights and are seeing a dim vision in your auto-darkening welding helmet, it’s time to replace the battery.
Auto Darkening Welding Helmets Importance

Auto Darkening Welding Helmets are one of the most important pieces of gear in a welder’s arsenal. They allow for a much more comfortable and accurate welding experience.
The auto-darkening feature allows welders to see their work clearly, and adjust their welding angle as needed without having to take off their helmets.
This not only makes for better accuracy in the finished product but less strain on the eyes and body because you do not constantly have to look away from your work to check your angle and focus.
Auto Darkening Welding Helmets also come with a variety of features, such as light sensors, timers, and adjustable sensitivity settings that make them ideal for any situation.
Do Auto Darkening Welding Helmets Effective?
Yes, auto-darkening welding helmets are very effective and should be used by anyone who uses a welding machine.
Auto-darkening helmets are great because they’re easy to use and can be adjusted to fit any size face. They work by using sensors to detect when the user is looking at something bright and then darken automatically.
This means that users don’t have to worry about adjusting their helmets manually, which can cause them to miss important details or let in too much light.
When shopping for a helmet, look for one that has an adjustable shade range so that you have greater control over how much light gets through the lens. Also, keep in mind that some helmets come with extra features like a visor and a head strap so that you can customize your experience even more!
How Can you Easily Test your Auto Darkening Welding Helmet?

When you are in the market for a new auto-darkening welding helmet, it is important to make sure that you choose the right one. In order to do this, you need to be able to test it and see how it works.
Here are some great tips for how you can easily test your auto-darkening welding helmet:
Make sure that all of the parts are working properly by testing them individually. For example, if you want to test whether or not the auto-darkening feature is working properly, all you have to do is turn on the light and see if it goes off when it should (this should happen almost instantly).
You can also do this by just turning on the light and seeing if it turns off when there is no more light coming from it (this will happen after about 30 seconds).
If there are any problems with this part of your helmet, then they will likely be quite obvious during these tests!
Test out how well your auto-darkening welding helmet works by trying out different types of light sources (e.g., incandescent vs. fluorescent lighting). This will help ensure that there aren’t any issues with glare or other visual effects caused by these different types of lights!
How to Turn Off Titanium Welding Helmet?
Titanium welding helmets are used for a variety of jobs, but what happens when you’re done with your project?
If you want to save your battery life and turn off your titanium welding helmet, there are several different ways to do so.
First, make sure that the helmet is powered off by pressing the power button on top of the helmet. This should be done before turning off the machine in order to protect yourself from any sparks or flying debris while working.
Next, turn off the machine by pressing its power off button. This should be done immediately after turning off your helmet so as not to risk damaging any sensitive materials inside the machine itself.
Things to Consider When Buying Auto Darkening Welding Helmets

When you’re looking for auto-darkening welding helmets, there are a few things you need to consider.
- First, you want a helmet that is comfortable because you will be wearing it for extended periods of time.
- Second, it needs to be durable enough to withstand the heat and pressure of the welding process.
- Third, it needs to have good visibility so you can see what you’re doing and avoid injury.
- It’s also important that the helmet has a wide range of shade settings so that it can adapt to different lighting conditions without needing to be replaced or adjusted frequently.
- Check the size of the helmet. If you’re buying one for yourself and it doesn’t fit right, then it’s not worth the money. You should also check how comfortable it is by trying it on before purchasing it.
- The best auto-darkening welding helmets will feature sensors that detect when light levels change and adjust accordingly within milliseconds so that your vision is never compromised by glare or reflections from surrounding objects, such as light fixtures or windows covered with blinds or curtains.
Factors Determine the Auto Darkening Welding Helmets Longevity?
In order to determine the longevity of an auto-darkening welding helmet, you first need to understand what factors affect it.
The most important factor is the quality of the glass used in the lens. The higher quality of the glass, the longer a helmet will last.
The next factor is how well the helmet is built. A helmet with a better build will last longer than one that is cheaply made.
Another factor that affects longevity is how much you use your helmet on a daily basis. If you don’t wear your helmet often, then it may not be as durable as if it were used more frequently.
The last thing that affects longevity is how well you take care of your helmet after using it each day. If you don’t clean and store your helmet properly, then it can wear out faster than if it were cared for properly after each use.
Also See: Best Auto Darkening Welding Helmets with Easy Adjustments
Pros & Cons of Auto Darkening Welding Helmets
Welding helmets are an important part of any welder’s arsenal, and auto-darkening welding helmets are a great option for those who need to be able to see clearly while working.
Here are some of the pros and cons of auto-darkening welding helmets:
Pros:
- Auto-darkening helmets help you see clearly by automatically adjusting their tint as needed. They can go from clear to dark in just a few seconds, so you don’t have to worry about missing out on important details when working.
- Auto-darkening helmets have a wide range of uses, including welding, soldering, brazing, and cutting. They’re an essential part of any toolkit and can make sure that you never lose focus again!
- Auto-darkening helmets also come with a variety of features that allow them to be customized based on the needs of each user.
- An auto-darkening welding helmet is far more advanced than a normal welding helmet. This saves time and money since you don’t have to keep changing lenses manually.
Cons:
- Auto-darkening helmets can be expensive compared to other options like passive or auto-shade helmets. The extra cost may not be worth it if all you’re looking for is basic protection from bright lights while welding or soldering at home or in the garage.
- Auto-darkening welding helmets may be too bulky for some people to wear comfortably.
- The cost of replacement parts is also high, especially if you’re using it on a daily basis or working with harsh materials such as aluminum or steel.
- You may have trouble adjusting them properly at first.
Precautions to Maintain Auto Darkening Welding Helmets
Auto-darkening welding helmets are one of the most important pieces of equipment for any welder. They protect your eyes from the harmful rays emitted by welding arcs, and they make it possible to see your weld puddle in extreme situations like bright sunlight or dark shade.
It’s very important to keep your helmet in good shape! Here are some tips on how to do that:
- Never use WD-40 or other lubricants on the lens of your helmet. This can cause damage and reduce its ability to darken.
- Avoid dropping your helmet on hard surfaces, as this may cause cracks or breaks in the face shield glass or lens. This could lead to serious injury if it were to shatter while you’re wearing it.
- Never put anything inside the helmet, including paper towels, tissues, or cotton balls, as this can interfere with the electrical components and make them fail prematurely.
- If possible, store your helmet inside out so that it doesn’t get scratched during storage.
- Use a quality cover when not in use. A high-quality cover will help protect your equipment from scratches and dents caused by normal wear and tear over time.
Also See: Easy ways to Paint a Welding Helmet
Safety Tips to Use Auto Darkening Welding Helmets
Welding is a dangerous activity, but it doesn’t have to be. With the proper protection and precautions, you can make sure that you are safe while you work. Here are some tips to keep in mind when using a welding helmet:
- Always check the filter before use to make sure it isn’t damaged or clogged.
- If your helmet does not have an internal fan, clean off any excess dirt or dust from the lens before putting on the helmet to avoid scratching the lens with your hands or other objects.
- Make sure you have enough light in your work area so that you can see what you are doing without having to turn up the sensitivity on your welding helmet too high.
- Make sure that there are no loose wires or cords hanging around where they could get caught up in moving parts of machinery such as conveyor belts or robotic arms; these would cause serious injury if they were pulled into motion unexpectedly while wearing protective gear like this one!
Wrapping Up!
In conclusion, if you are a welder or you know someone who is a welder, it is very important to invest in a good welding helmet.
However, a good welding helmet isn’t enough to protect the eyes of the welder, and there also needs to be adjustments on the helmet itself.
This guide was useful and gave you some ideas as to how to adjust auto-darkening welding helmet.
FAQs:
What is the sensitivity adjustment on a welding helmet?
The sensitivity adjustment on a welding helmet allows you to control the brightness of your screen by adjusting the sensitivity of the light sensor. It can be used to help regulate how much light reaches your eyes when welding in different environments or simply to adjust it according to personal preference.
How do you trigger auto darkening welding helmet?
Auto-darkening welding helmets are self-activating, meaning they automatically darken once the arc begins. This eliminates welder eye strain and gives you a smoother weld bead. Auto-darkening helmets can be triggered by a photoelectric cell that monitors light levels or by an infrared sensor that detects heat.
How do I know if my auto-darkening welding helmet is working?
The best way to know if your auto-darkening welding helmets are working is to test them by placing a piece of paper in front of the viewing lens (not directly in front of the arc source). If the viewing lens darkens when exposed to light, your auto-darkening helmet is functioning properly and capable of protecting against intense light from an arc torch or welder.
Recommended Post:
